
Warning: If you don’t like pictures of raw meat, stop right here! You have been warned. This post is not for the squeamish. It is for people who like to start from scratch when making their food.
We hatched about 30 chicks in September–or rather, four of our hens did the hard work of keeping the eggs warm and hatching the chicks! Fifteen turned out to be roosters, and only one was wanted for future breeding. The rest were big enough by now to eat, and I didn’t want to move them to the new place, so we butchered them today. As I was cutting them up, I thought this would make a good post–maybe someone else wants to know how to cut up a chicken!
Start with a SHARP knife. Keep a steel close to keep a good edge on it. This is what will make or break your experience. I also like to have a wooden cutting board (anything else will dull your knife faster), and kitchen shears if I am splitting any breasts.
Lay the chicken on its back, and cut around the wings, pulling the joint loose as you do.
I like to fold the wing tip back over the first joint. When you oven-fry it, then, it won’t burn as easily.
Next step–cut off the legs. Pull the leg away from the body and cut through the loose skin between leg and body.

Continue cutting around the thigh, as close to the bone as possible.
As you cut, pull the leg back so the joint comes apart, and cut through the cartilage that holds it together.
I separate the drumstick and thigh. There is a line of fat that goes across; cut through just on the drumstick side of that line and you’ll go right through the joint. You can also wiggle the joint to figure out where it is.
Now, I separate the back from the breast. Stick the point of the knife in where the wing was cut out, and cut toward the back end of the chicken.
If you look closely, you should be able to see a line of white dots, where the upper ribs meet the lower ribs. Those white dots are the cartilage that joins the two parts of the ribs, and it is easy to cut between them there (saves your knife, too–hitting bone dulls a knife fast).
Next, grasp each part of the chicken firmly (you’ll be glad, here, if you were able to cut through the cartilage–otherwise there will be sharp bones) and pull the carcase apart, twisting and ripping.
To split the breast in half, and have bone-in, skin-on breast pieces, take your sharp kitchen shears and cut through the breast bone and the wishbone. The breastbone is what I am cutting through here; the wishbone is lower. I cut through each separately.
After you’ve broken the bones with the shears, use your knife to cut the meat away from one side of the keel bone, and separate the two halves of the breast.
To make boneless skinless breast, pull the skin off the meat. Then, cut along both sides of the keel bone, and down along each side of the wish bone. Here, I’ve cut along one side of the keel bone and the point of the knife is at the point of the wishbone.
Here, I’ve cut the meat away from the keel bone and the wishbone, and am boning the meat away from the bones about halfway back.
Once you’ve boned it about halfway back with your knife, finish pulling the meat off with your hands.
Here are all the pieces of a chicken! Clockwise from top: Drumsticks, thighs, wings, back and breast bones, boneless skinless breast.
What I ended up with, from 14 chickens: A big pot of bones to turn into broth, a bowl of boneless skinless breast, and a bowlful of other pieces.
After packaging: A tray of breast meat to freeze individually, then bag, and five meal’s worth of pieces. After I laid out the breast pieces, I remember that they need to be aged, so I put them in a bag and will lay them out again in three days. We always keep our chicken in the fridge for three days before freezing, so it is more tender.
As I was working, this little monkey jumped onto my back and held on!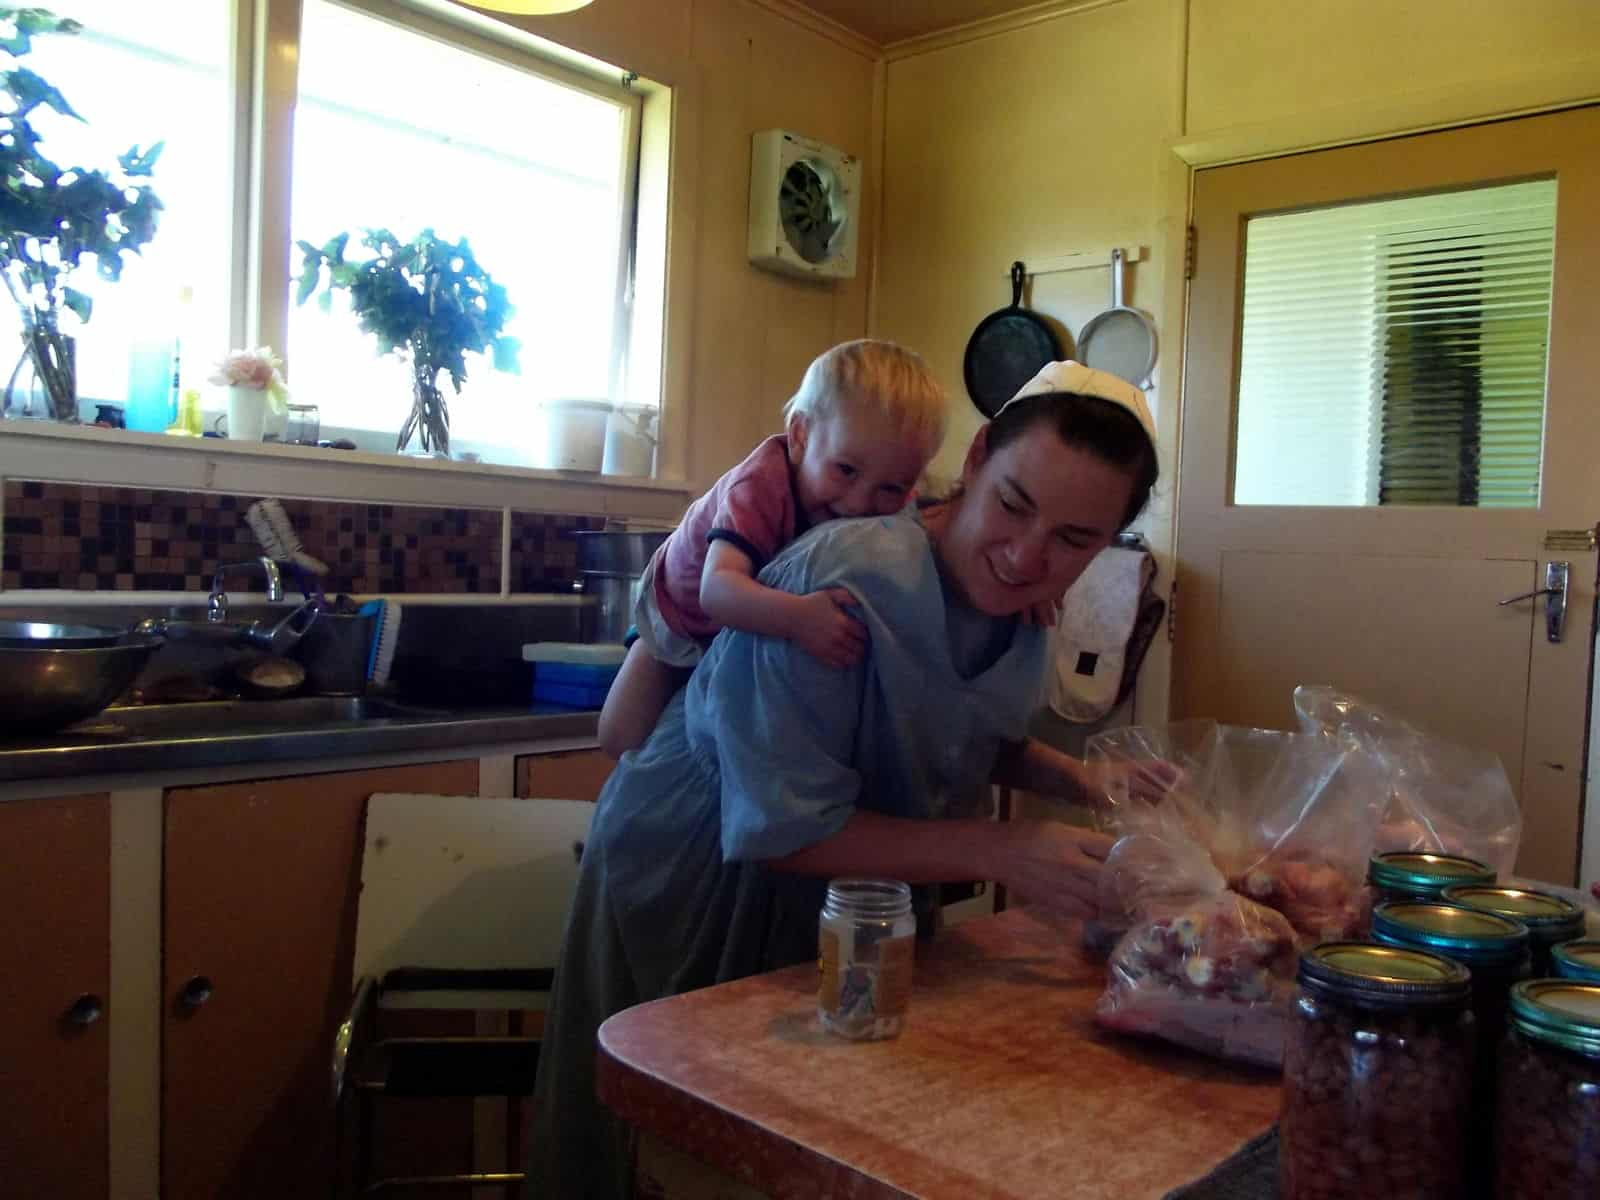
Leave a Comment